Showing posts with label Decor. Show all posts

Tuesday, October 20, 2015

The Bathroom Makeover


Just to give you an idea of what we were dealing with in our bathroom renovations let me show you some before pictures.

We decided to keep the original bath tub and vanity to save some money and that's basically all that we kept. 

The window above the toilet actually went to another room, not outside so we decided that needed to go. The door to the bathroom had been enlarged for wheelchair access (we think) so we had to change the door frame as well.
Removing wallpaper is such a pain! I vow to never, ever put up wallpaper. I don't care how in style it is I will NOT do it.

The hardest part was probably ripping out all the tile from the shower and the floor.

 If you ever demo a bathroom I recommend using power tools, ear plugs and safety glasses. Pieces of tile can chip off and fly at you. I am just glad my brother in law was there to help and to tell me what to do.

As you can see the demolition part can get quite messy! With me, my dad and Brother in law it took about a day to demo the bathroom.
 Once the trim and glass from the window were out Travis had to build a frame for the window and then had to sheetrock it.
The tile and stone work were installed by the local Utah company Millstream Tile and Stone. The cool thing is, I happen to know the owner and he let me help out with some of the tile since I have never done that before.
 If you need any tile or stone work done I highly recommend Millstream Tile and Stone!

I don't have pictures from my painting progress but let me tell you, we started with a generic ceiling paint that was tinted pink when wet so you could see where you had painted. Sounds great right? Wrong! This particular paint takes almost 30 days to completely cure which means any moisture in the room will turn the ceiling pink, it's kind of a pain. From there I painted the walls and vanity.
 My tile guy suggested adding the tile on the wall behind on the toilet. I am so glad he did, it gives it a real finished look. He also did the custom marble counter. The pictures just don't do it justice.


We also added new hardware to the cupboards and drawers. The mirror was a basic mirror from Home Depot that Travis added the frame to.


I didn't get a picture of the lights but this is what they look like.


Paint: Glidden Universal Grey
Tile: Subway tile from Home Depot
Flooring:Mitte Gray tile from Lowe's
Sink: Decolav rectangle under mount sink from Home Depot
Light: Hampton Bay
Plumbing fixtures: Pfister


Thursday, August 6, 2015

Did I Tell You We Moved?


If you follow me on Instagram you may have noticed that we moved. We bought a house in early March and have been slowly remodeling it ourselves. Talk about a lot of work!
We finally moved in at the beginning of June but still have a lot of work to do.


This picture was taken before we moved in. I have lots of plans for the exterior but that will have to wait.

Brody has even enjoyed helping us with some of the renovations.

Before moving in we removed more wall paper than I even want to think about, painted pretty much everything in the upstairs, opened up some walls, built closet organizers, built a wall, gutted a bathroom, ripped up old flooring, sanded and stained old hardwood, new trim and baseboards, a bunch of electrical work, ripped out cupboard, patched lots of holes and so on.

I will show some before and after pictures soon, but I want to finish decorating first.

The kids transitioned to the new house really fast. Sammy and Sadie loved finding fun places to eat before we had our kitchen table set up.


Friday, November 7, 2014

Fall Centerpiece


Shonee from Hawthorne and Main

I am so excited to be participating in Whatever Dee Dee Wants give thanks series.  You guys are seriously in for some amazing inspiration.  Since we are well into the fall season I came up with a super simple DIY fall centerpiece. 

Monday, January 20, 2014

Pottery Barn Kids


Pottery Barn Kids does it again. They always seem to make things I want. Not for my kids but for me.

I am dying over this ceramic side table and these pastel wood chairs!  
What do you think of them?


Monday, November 11, 2013

Give Thanks: Pumpkin Topiary


Kelli & Kristi of Lolly Jane

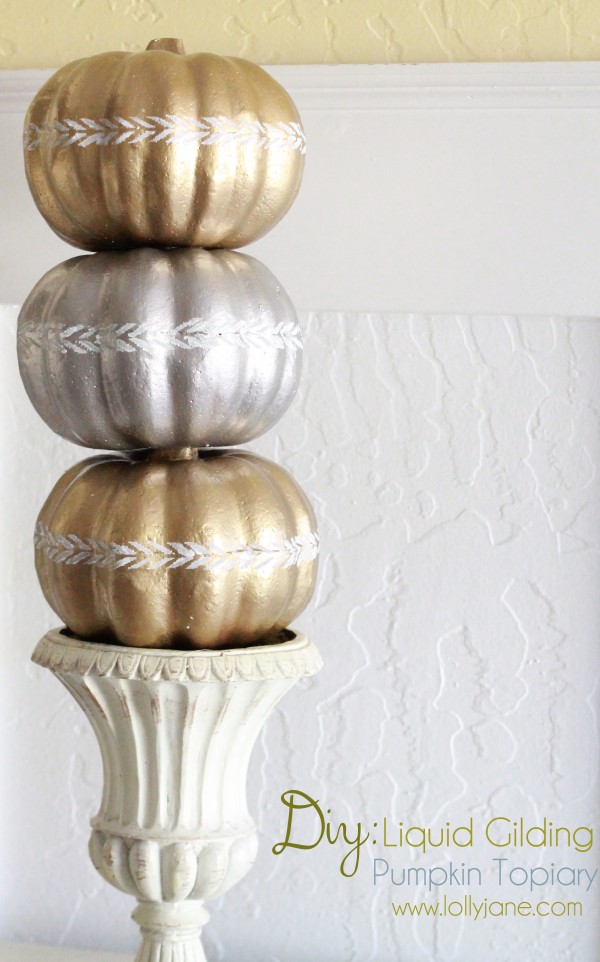
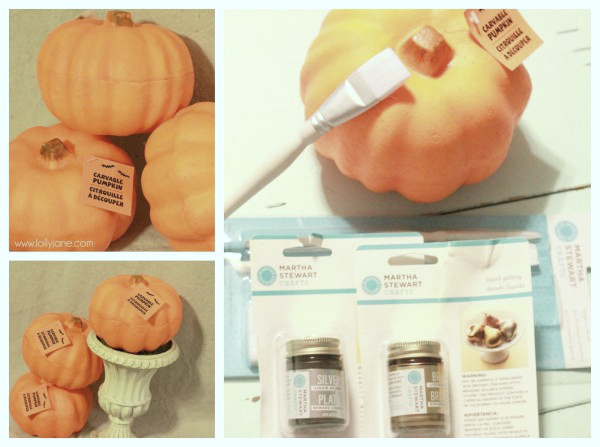
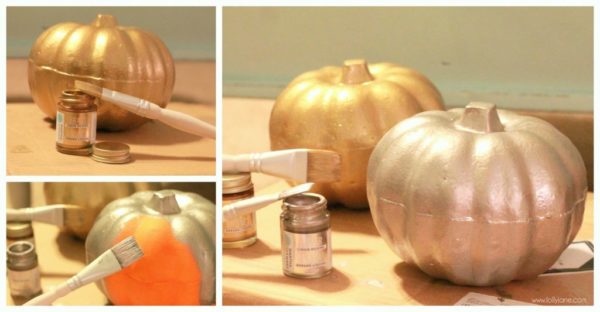
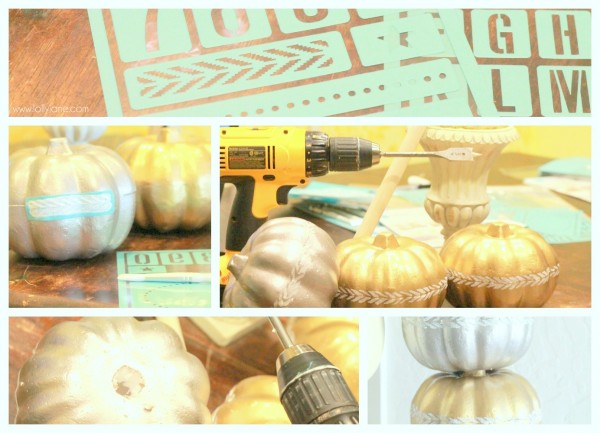
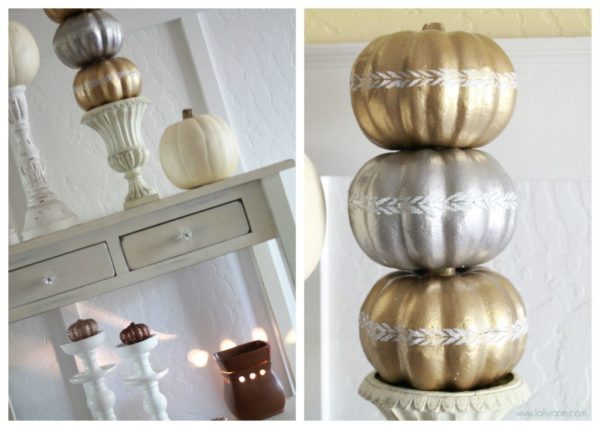
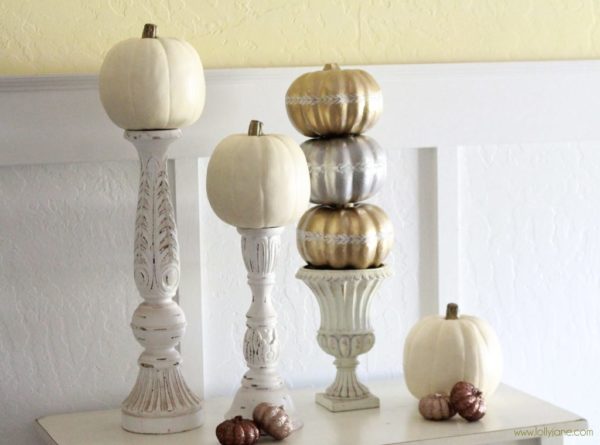
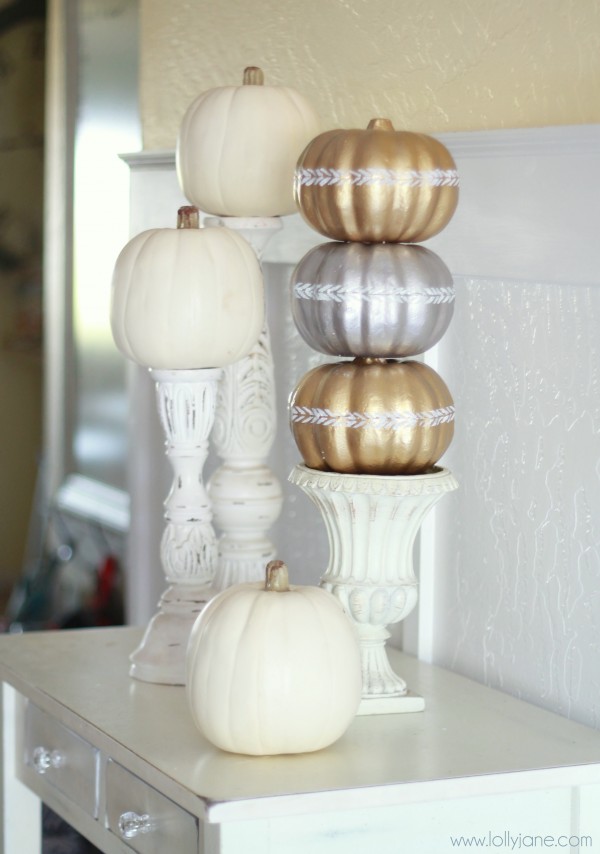
Hi friends of DeeDee! We are twin sisters Kelli & Kristi of Lolly Jane and we are thrilled to be taking part in Dianna's fun Give Thanks series. We lovely love fall and decorate to the nine for it. Because it's still bloody hot in Arizona during the rest of the country's prettiest time of year (like, our leaves go from green to falling off, there's not much changing colors around here! lol) we decorate the INSIDE of our homes in fall decor... and maybe light some pumpkin scented candles to help urge the weather to cool down. ;) Today we're sharing an easy makeover to get you in the fall spirit, too, our liquid gilding pumpkin topiary: I love how they turned out and would you believe us if we told you that these pumpkins were purchased from the dollar store?! I know! These are so easy to make, you’ll be surprised at how little work is required. I bought 3 pumpkins at Dollar Tree since I knew I wanted to recycle the vase from my candy corn tree craft a couple years ago. I wanted to use both my silver and gold liquid gilding so I decided to alternate the colors for the pumpkin topiary and sandwich silver in the middle. These turned out so cute; they’re pretty enough on their own. However, I wanted to add one more layer to tie them together and match the vase so I dug through my Martha loot and found these cute adhesive stencils. Perfect! They stuck so well to the pumpkins (I did allow them to dry overnight, for the record) and they didn’t peel off any of the gilding at all. After the stencil was dry, I drilled a hole into the bottoms of the pumpkins and through 2 of them stems (one will be on top so don’t drill through all 3 completely!) then slid a dowel through them all ($.55 at Home Depot). Definitely beginner level project! Note: the gilding requires nail polish remover to clean the brushes and stains your hands so wear latex gloves to avoid a mess. I love the result for this quick and easy transformation and I especially love how clean and simple my fall display is: I have more to add but this table in my entryway is all about fall and looks so chic now. I just adore it! Can’t you just see this on your fall tablescape or fall mantel? I am pretty much wanting to put these all over my house (; And why not? So inexpensive! You could use these for your Halloween decor as well, depending what colors you decorate with. For more of our fall tutorials and to see the whole mantel display, mozy over to LJ. We'd love to chat with you on FB or Instagram or see what lovely fall projects you're pinning on Pinterest. :) Thanks for having us, Dianna! xo Logo

Monday, November 4, 2013

Give Thanks: Faux Aged Canning Ring Pumpkin

Hello DeeDee friends!! So happy that fall is here! Although we live in Arizona where the leaves don't change until after the holidays, and we drink hot chocolate because it's in the 70's (hey, the 70's are cold to us), we do love fall decor. There's something about a crisp chill in the morning, the taste of pumpkin, the hay rides and carnivals that make summer easy to say goodbye to. Not to mention cute boots, scarves and layering clothes, I love layering! We're no strangers to home decor around our neck of the blogging world, Lolly Jane. On our site, you'll find lots of holiday ideas, tutorials, DIY projects and lots of paint, a lot of it on furniture! Come say hello sometime!
LollyJane.com ROCKS!
The original idea for this cute canning ring pumpkin was created by the talented Kristin of Yellow Bliss Road. I just love her pumpkin and wish I could have used her old, pretty discolored rings. Instead, we're putting a little twist on it by making our canning rings look aged when they're actually brand spankin' new from the box. Take a look at our version and follow along to make your own!
Pretty faux-aged canning ring pumpkin
Besides the canning rings, I used some orange bakers twine (around 12") brown & orange acrylic paint, a pretty satin spray paint, (Krylon brushed metallic) a piece of burlap and a twig from outside. Supplies to make a cute faux-aged canning ring pumpkin This was an easy peasy project and took about 15 minutes to create, including dry time. Cute faux aged canning ring pumpkin tutorial Follow Yellow Bliss Road's full tutorial on how to make the canning ring pumpkin then follow our tutorial to make it look aged.
  1. Paint a light coat of brown acrylic paint, then dab orange acrylic paint loosely on the canning rings.
  2. Give the entire pumpkin a light coat of spray paint.
  3. Slightly distress with a fine grit sandpaper until the brown-ish orange paint just peeks through the spray paint.
  4. Add your stick in the middle of the canning rings.
  5. Cut a leaf shape out of burlap and tuck by the stick.
  6. Dab some hot glue on the stem + leaf for reinforcement if little hands are around. (;
That's it! A simple piece fall decor, faux distressed Lolly Jane style: Pretty faux-aged canning ring pumpkin Seriously easy, seriously cute. That's how we roll this crazy busy time of year! LOL! Pretty faux-aged canning ring pumpkin Come check out all our pumpkin ideas! You'll catch us on Instagram daily but also visit us on Pinterest, Facebook & Twitter! THANKS for having us, Dianna!! Happy fall, ya'll! XOXO, Logo    
Thursday, March 29, 2012

Spring Fling: Outdoor Decor


Jessie from My Mod Style


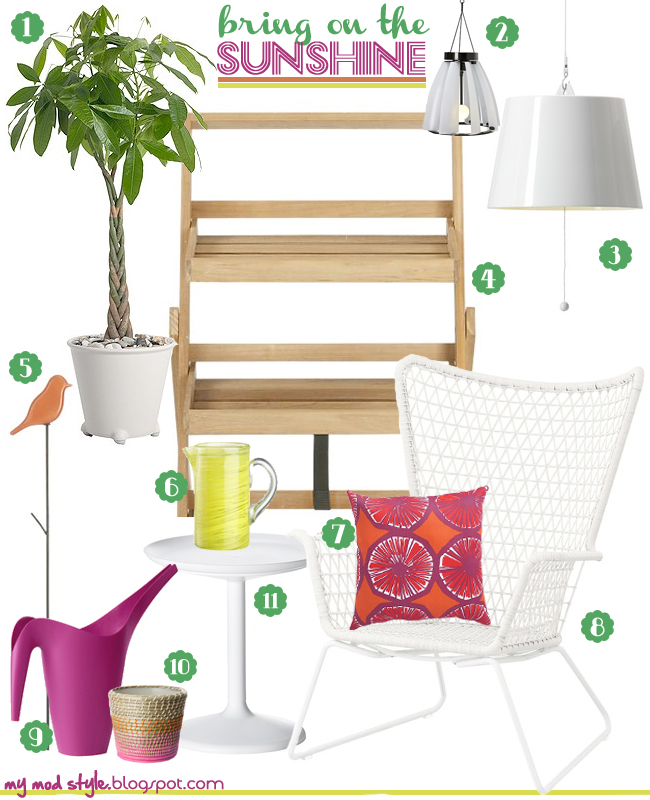
Hello there! My name is Jessie and my blog is My Mod Style. When Dee Dee asked me to do a spring guest post for her blog, I was thrilled! I love to make collage boards and I love springtime. I think we are all craving warmer weather and outdoor activities. I put together some of my favorite outdoor decor from my two favorite stores, IKEA and Crate & Barrel.

Decor Love bring the sunshine1
 LINKS
1 2 3 4 5 6 7 8 9 10 11


Decor Love Mini Spring Board


LINKS
1 2 3 4
 
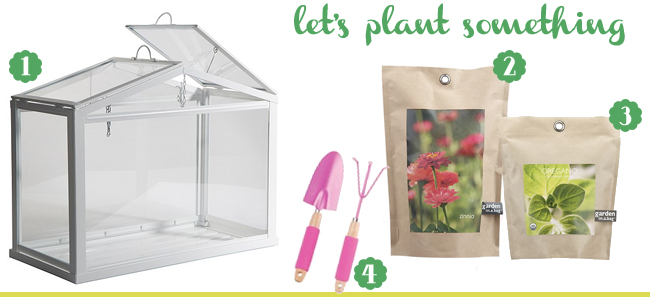
I love to do landscaping and plant flowers. This year I really want to grow my own herbs and vegetables. I found the above greenhouse from IKEA and fell in love. It's priced only at $19.99! What a great deal. How cute would it be with little pots of herbs growing in it? I hope I have inspired you to start thinking spring and plant something!!!

Friday, March 23, 2012

Spring Fling: Paper Flower Wreath


Brittany from Pretty Handy Girl

I'm so honored to be a part of  Dee-Dee's Spring Fling this year! I have a great tutorial for creating a spring wreath.
But, before we get started, I think some introductions are in order. Hi, everyone, my name is Brittany (aka Pretty Handy Girl).
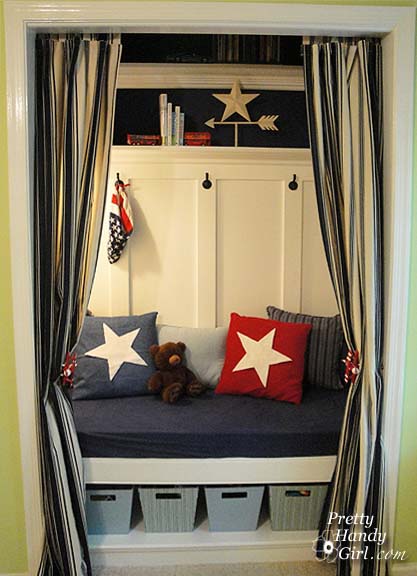
I write a blog, called what else, Pretty Handy Girl! My blog is filled with DIY tutorials for building things (like my son's closet turned into a reading nook,)
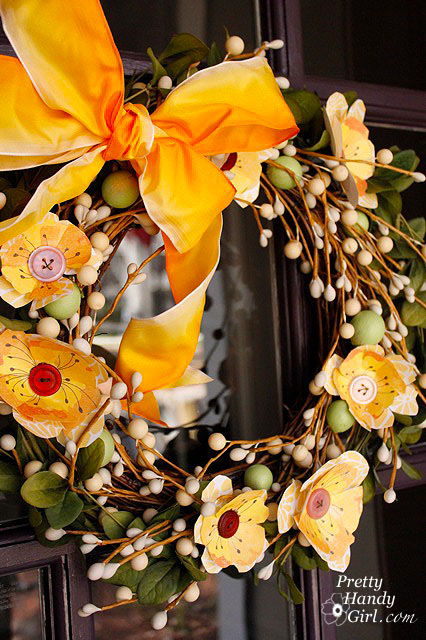
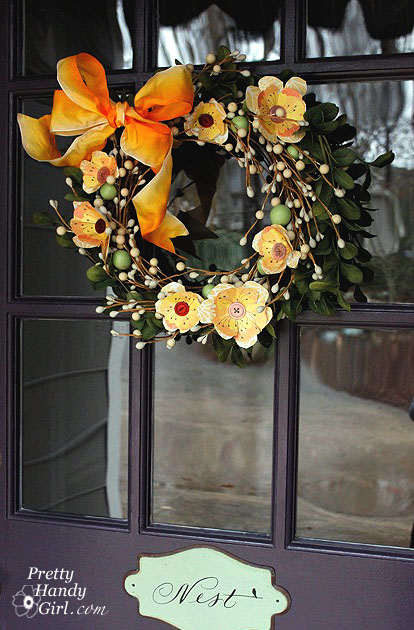
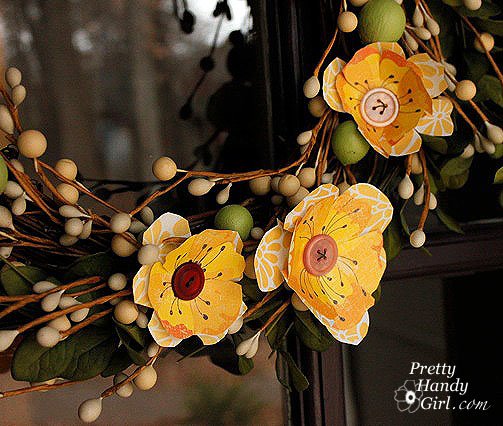
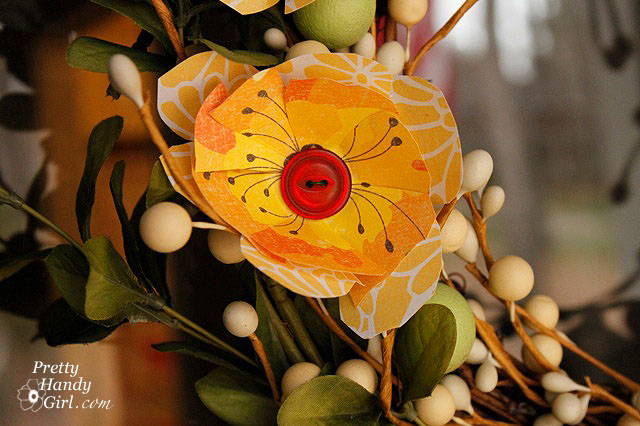
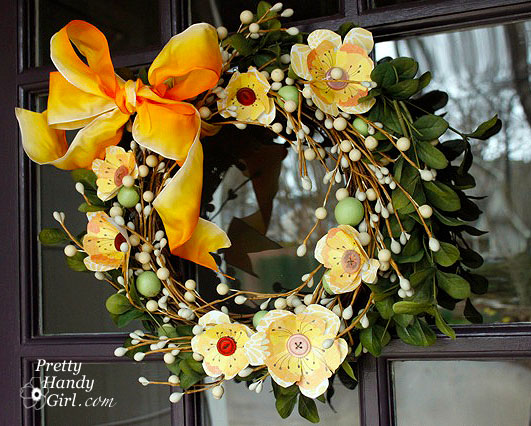
or crafting things like the floral wreath I made for Spring!
This past year, I challenged myself to use one wreath through every season for one year. Well, I made it through the year and transformed the wreath four times!
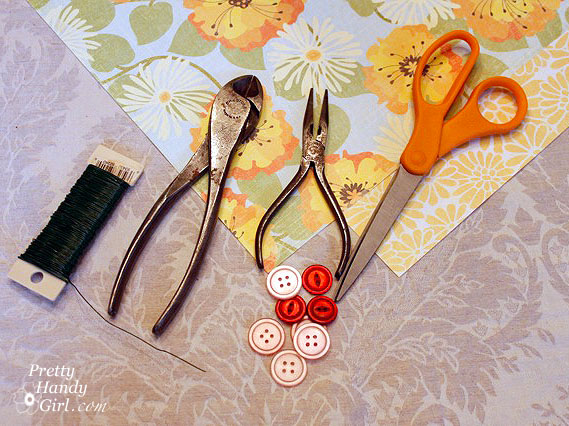
Materials:
  • Two coordinating scrapbook paper sheets
  • Buttons for flower centers
  • Scissors
  • Wire cutters
  • Floral Wire
  • Base wreath of your choice
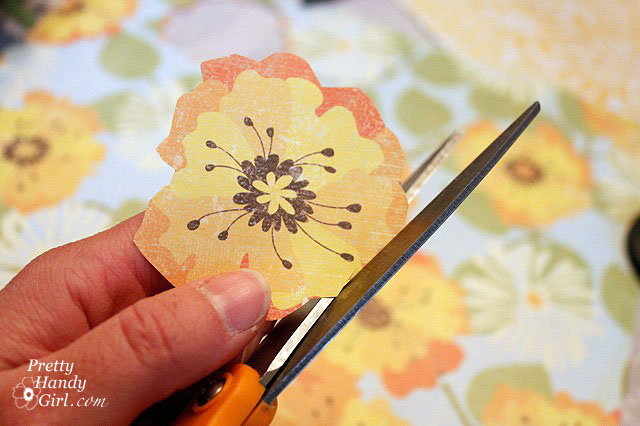
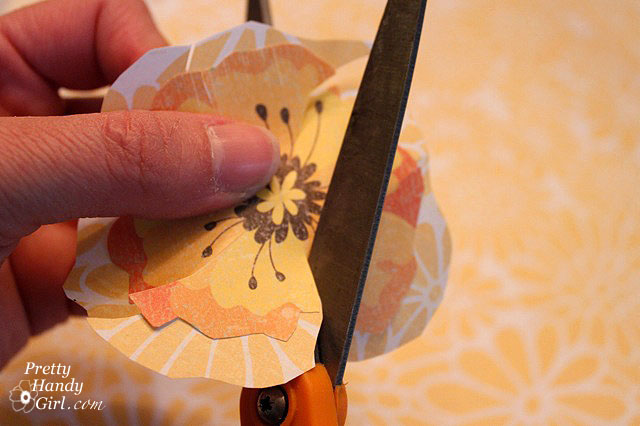
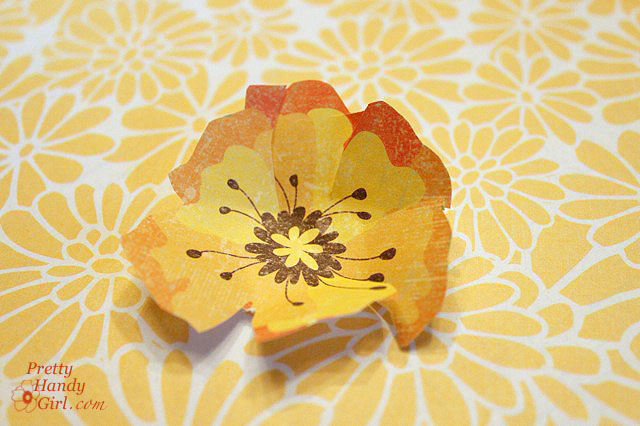
Begin by cutting out flower shapes.
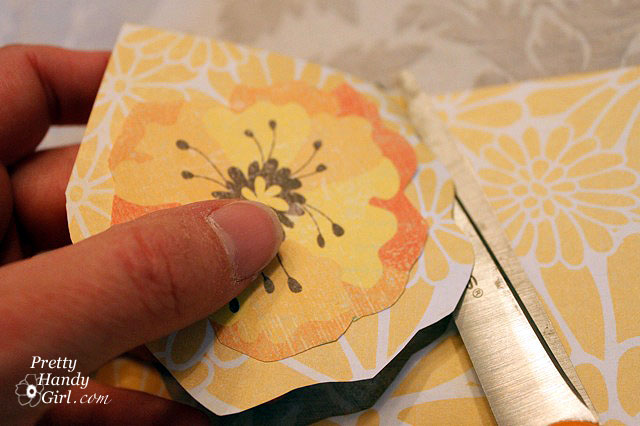
Lay your flower on top of the coordinating paper and cut a flower shape larger than the first.
Lay both flowers on top of one another and cut slits in toward the center of your flowers. Be sure not to cut too close to the center.
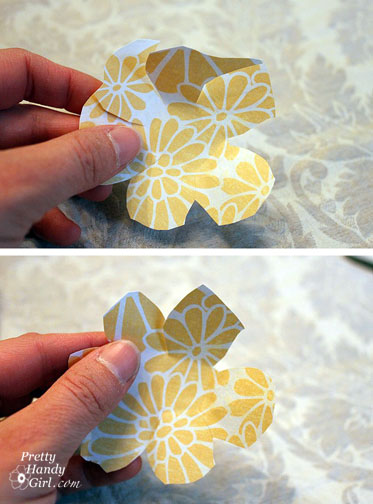
Trim the edges of your petals if you need to round them more.

Fold the edges of your flowers up to give them dimension.
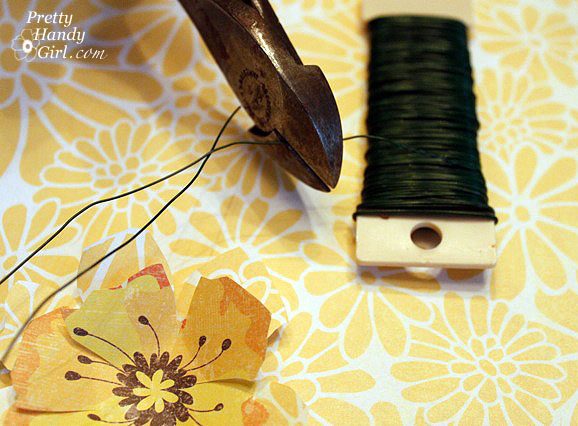
Cut a length of floral wires, long enough to wrap around your wreath.
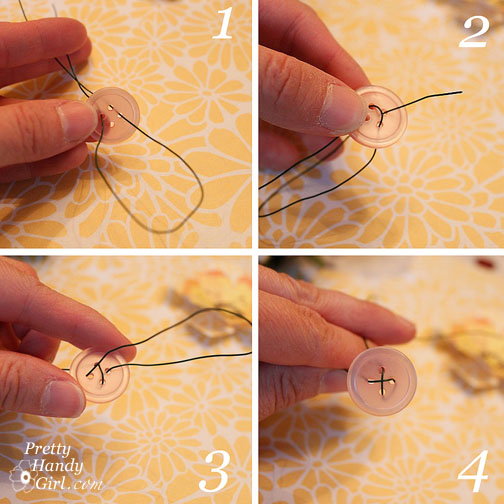
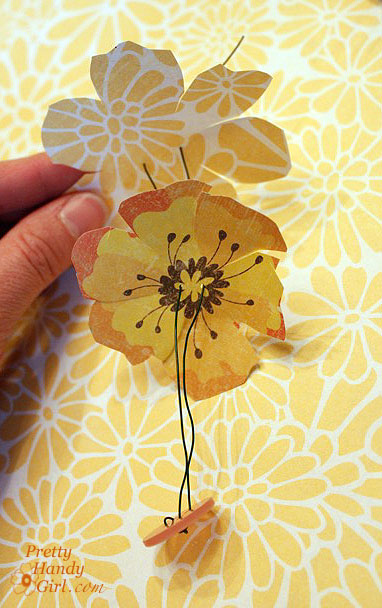
Thread the wire through your button. If you have a four hole button, you may want to thread it like this:
Then poke the wires through the centers of the flowers (it is easiest if you have one on top of the other so you are going through two flowers at once.)

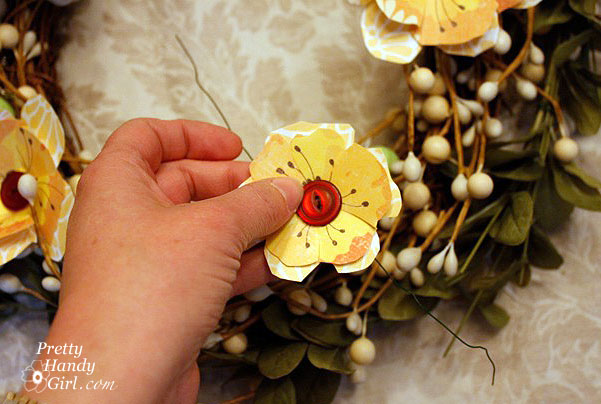
Set the flower on your wreath.
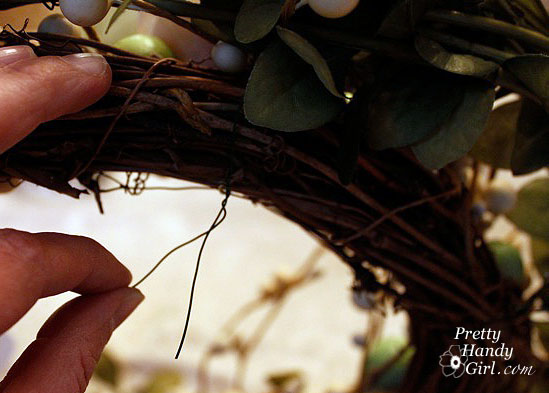
Wrap the wires around the back and twist to secure.
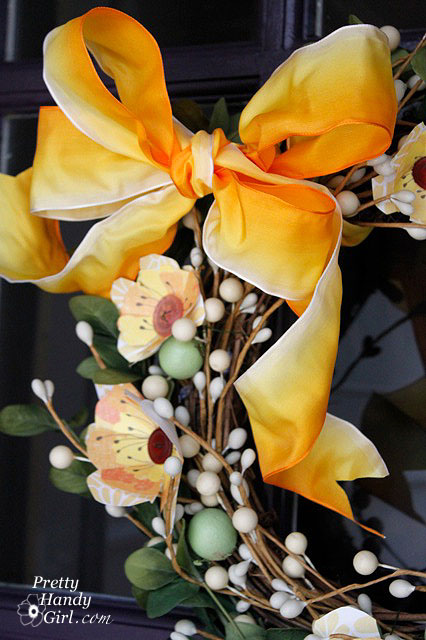
Repeat until you have as many flowers as you like. Then add a coordinating ribbon bow.

These little sunny floral faces really brighten my day.
I am definitely ready for spring, how about you?
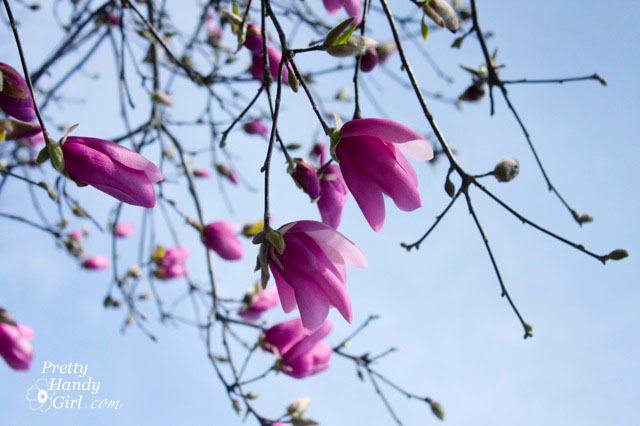
Lucky for me, there are random pops of color blooming down here in North Carolina! Here is a peek at a budding magnolia tree.