 Hello everyone,
I am really excited to be here on Terrific Tuesdays, lets give a round of applause to Dianna for this fantastic idea. My favorite so far has to be the PVC waterway from last week-I am making this one- but it has to be a little taller because I definitely need to fit through. My name is AshLee Winterrose, I am a teacher {kindergarten}, new mom {15 month old}, and what I call a striving artist. After teaching children, art is my next love so while I am taking a hiatus from teaching I have begun learning graphic design and indulging in my love of creating-I try to share bits of what I attempt on my blog, Two Penny Blue Mom. You can also find me and a lot of free printables on Two Penny Blue which is my sister and my business blog.
Okay so... when I was trying to decide what to share with you I had been writing some articles about raising a reader and I thought with all the fun memories we are going to make sharing in Terrific Tuesdays we needed a fun way to record it. And I am all about sharing that fun with the kiddies so here is an easy way to record and store your child's memories of their summer fun.


 |
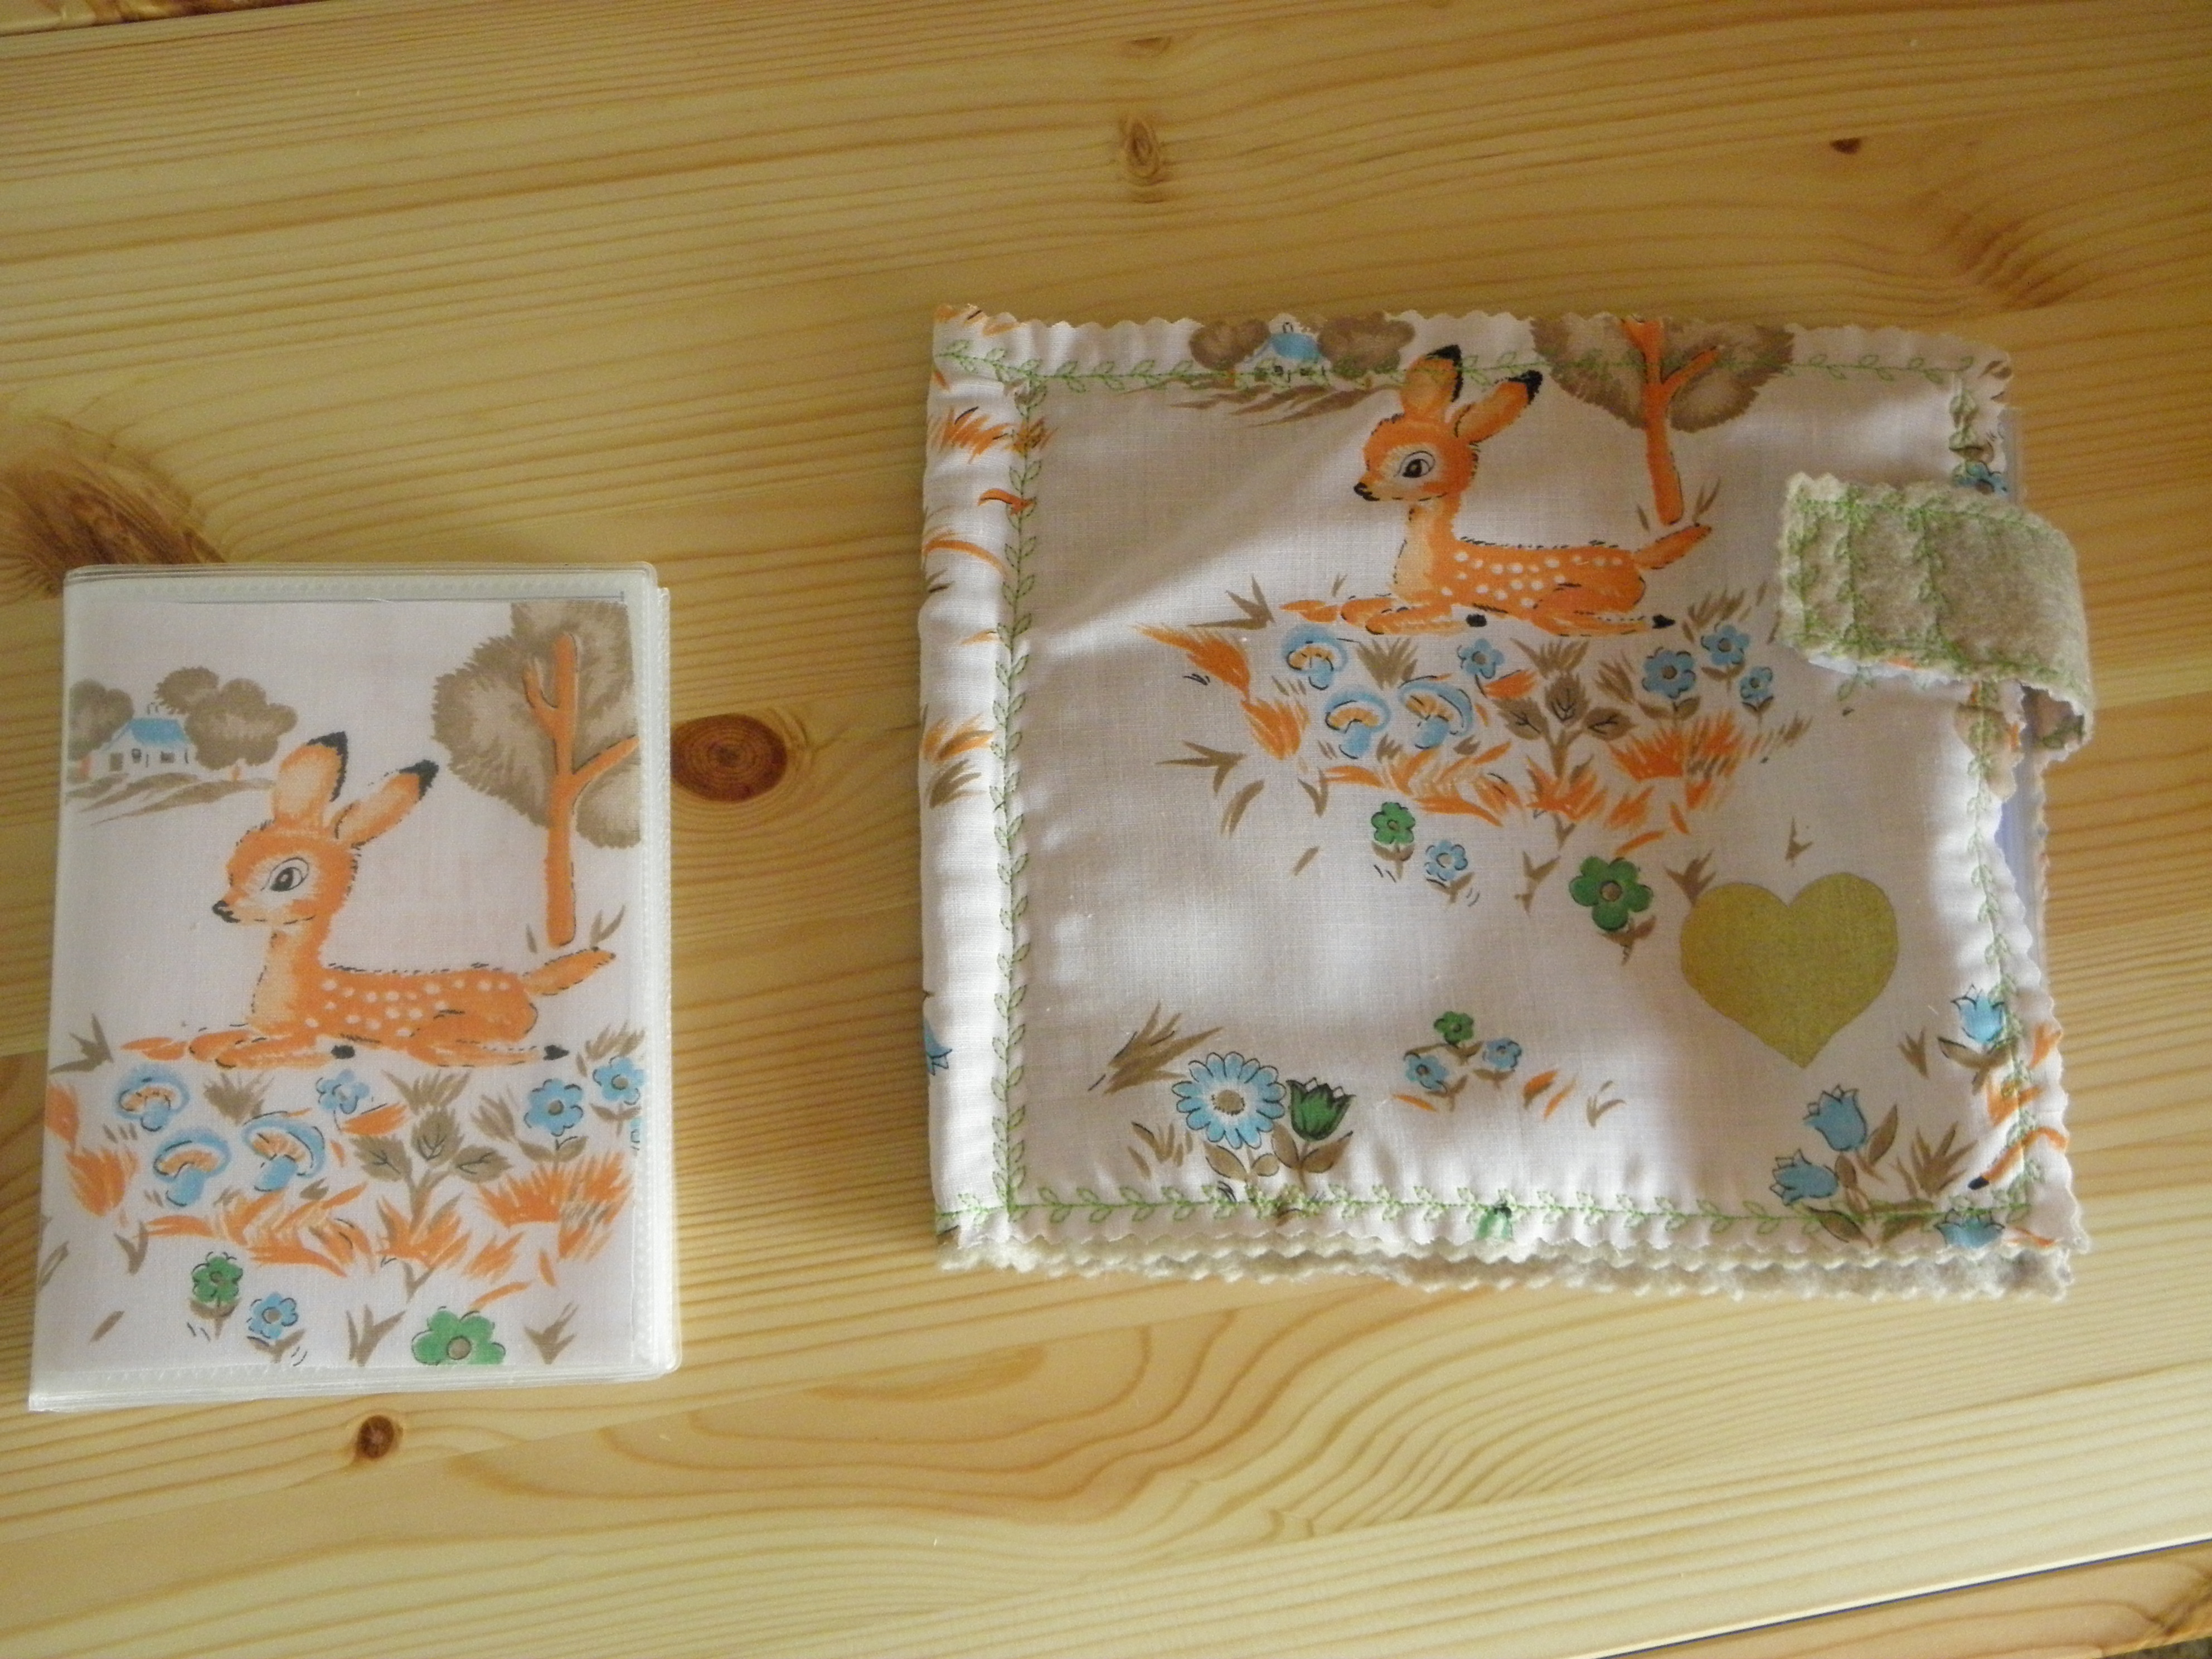
| In Picture: The larger book is the memory book and the smaller is what the pages look like when you transfer them to the anthology so you can reuse the memory book for a new story. |
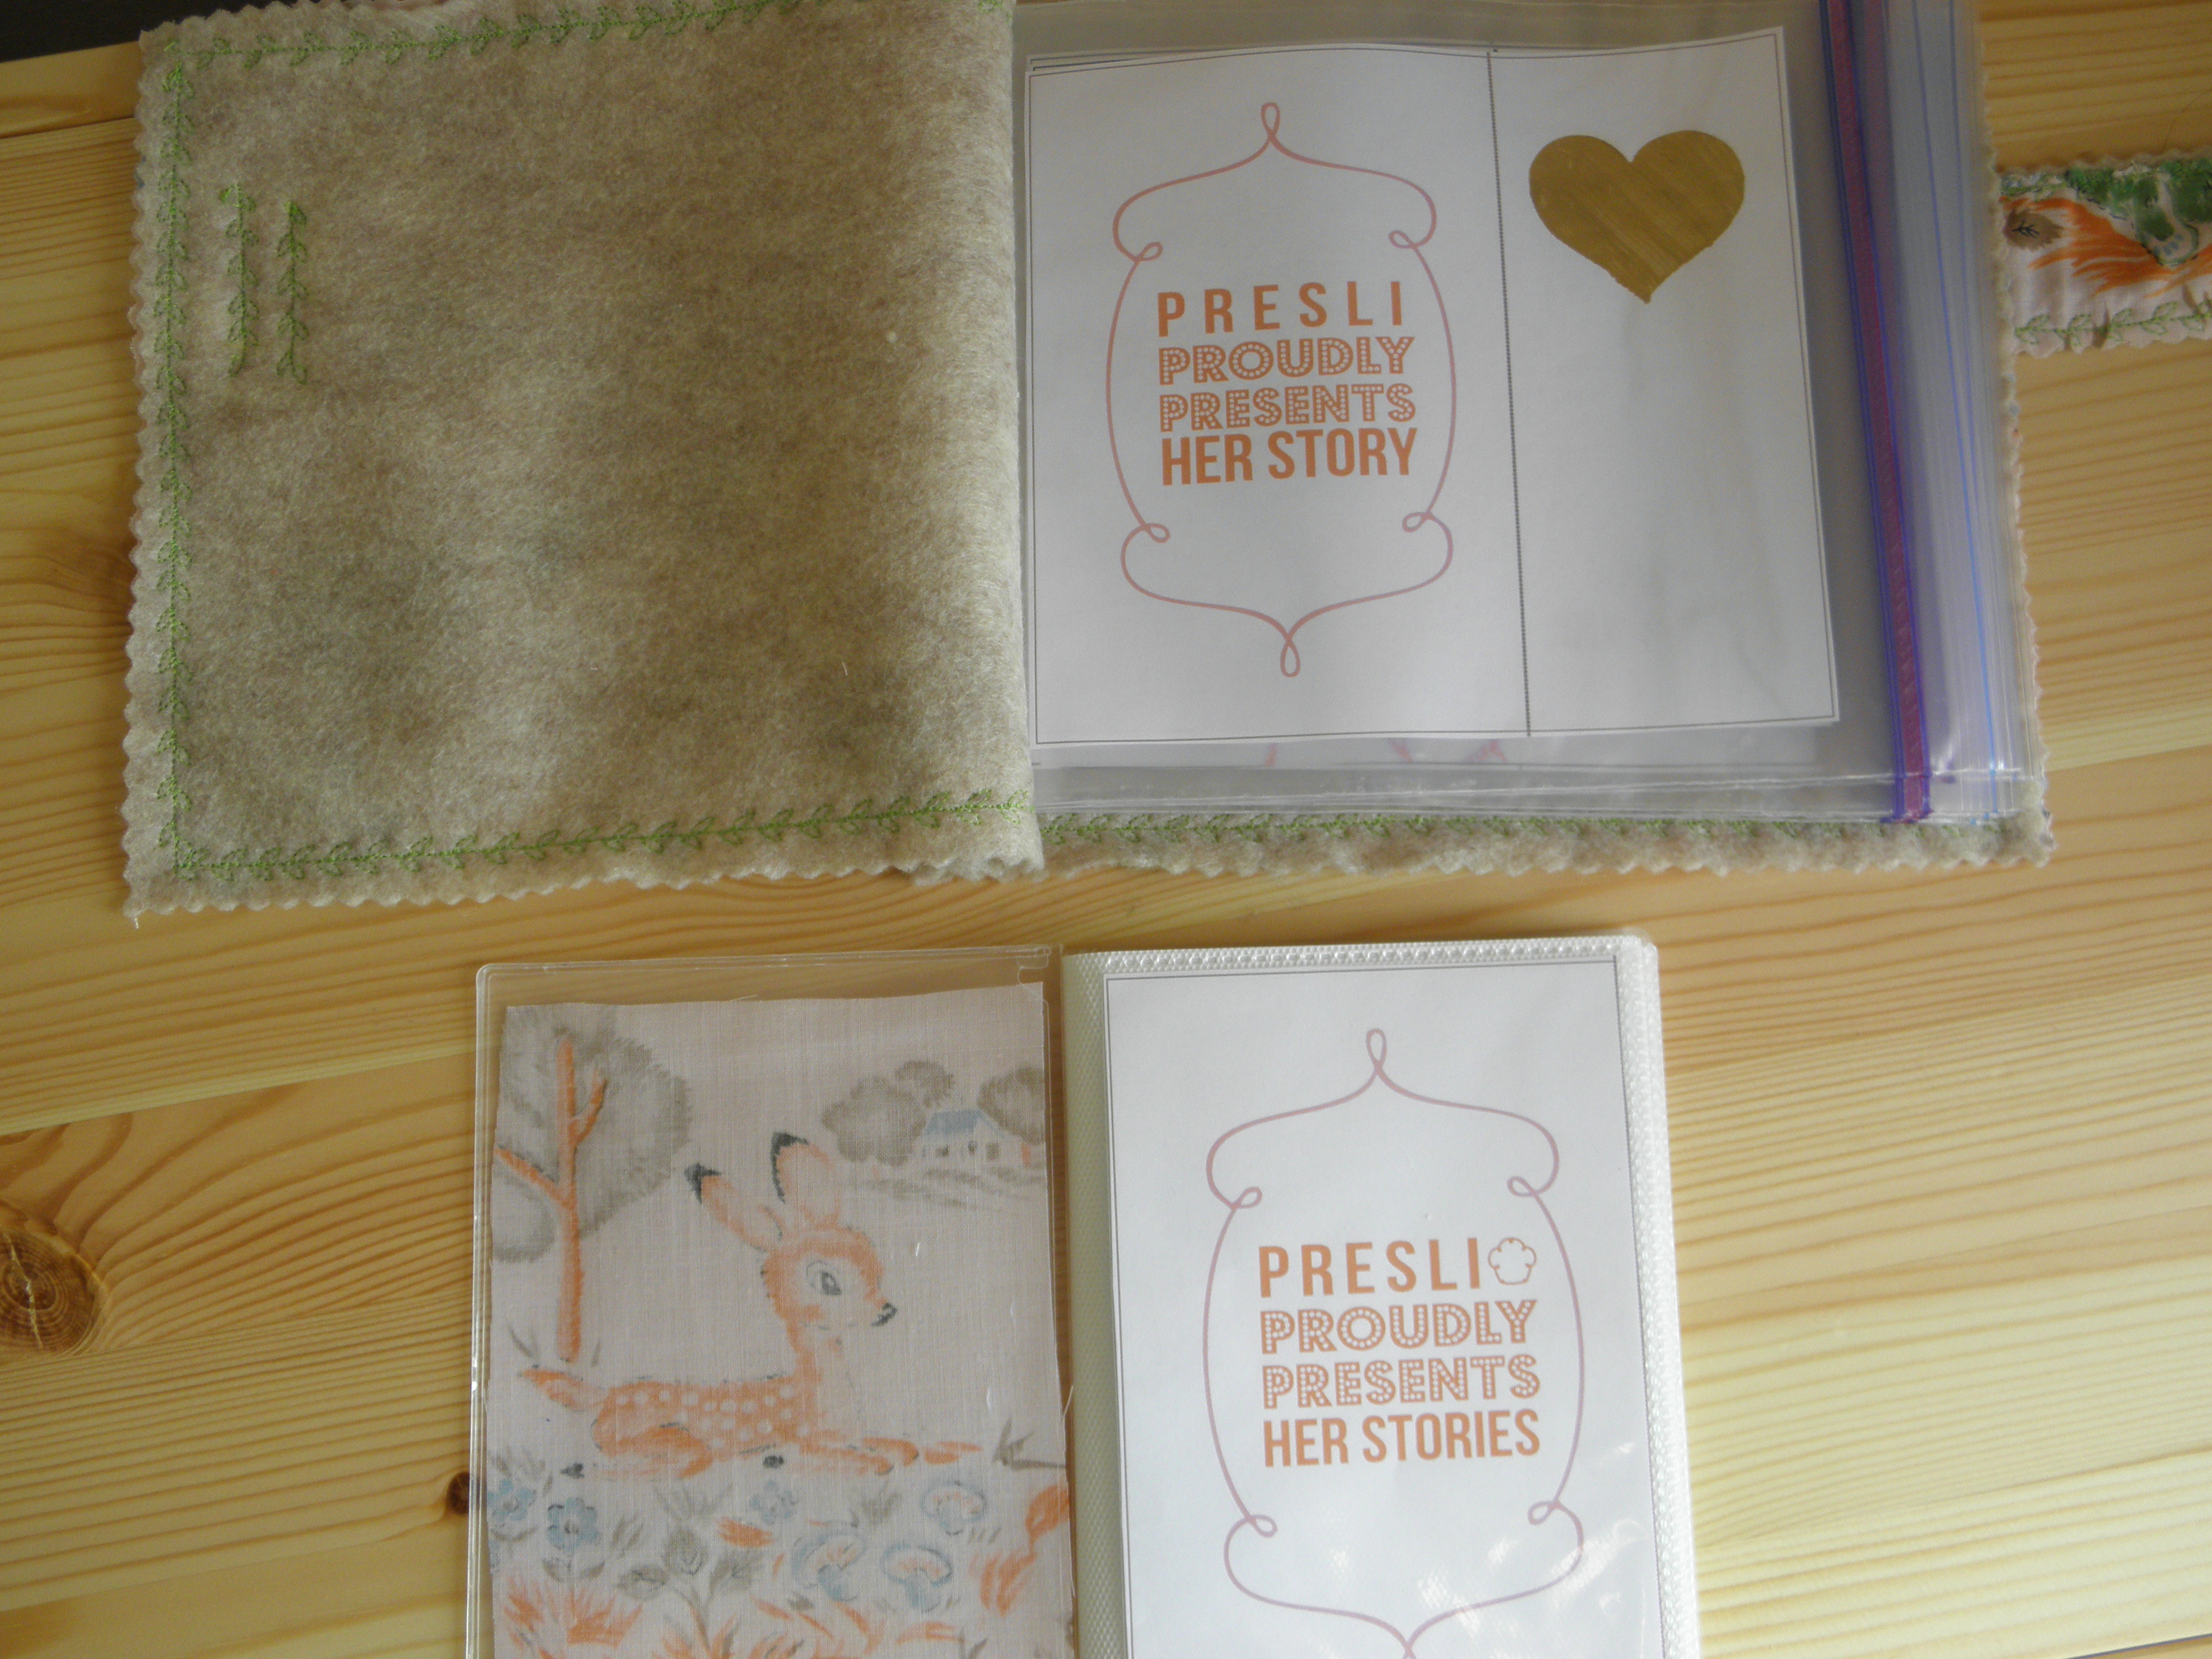
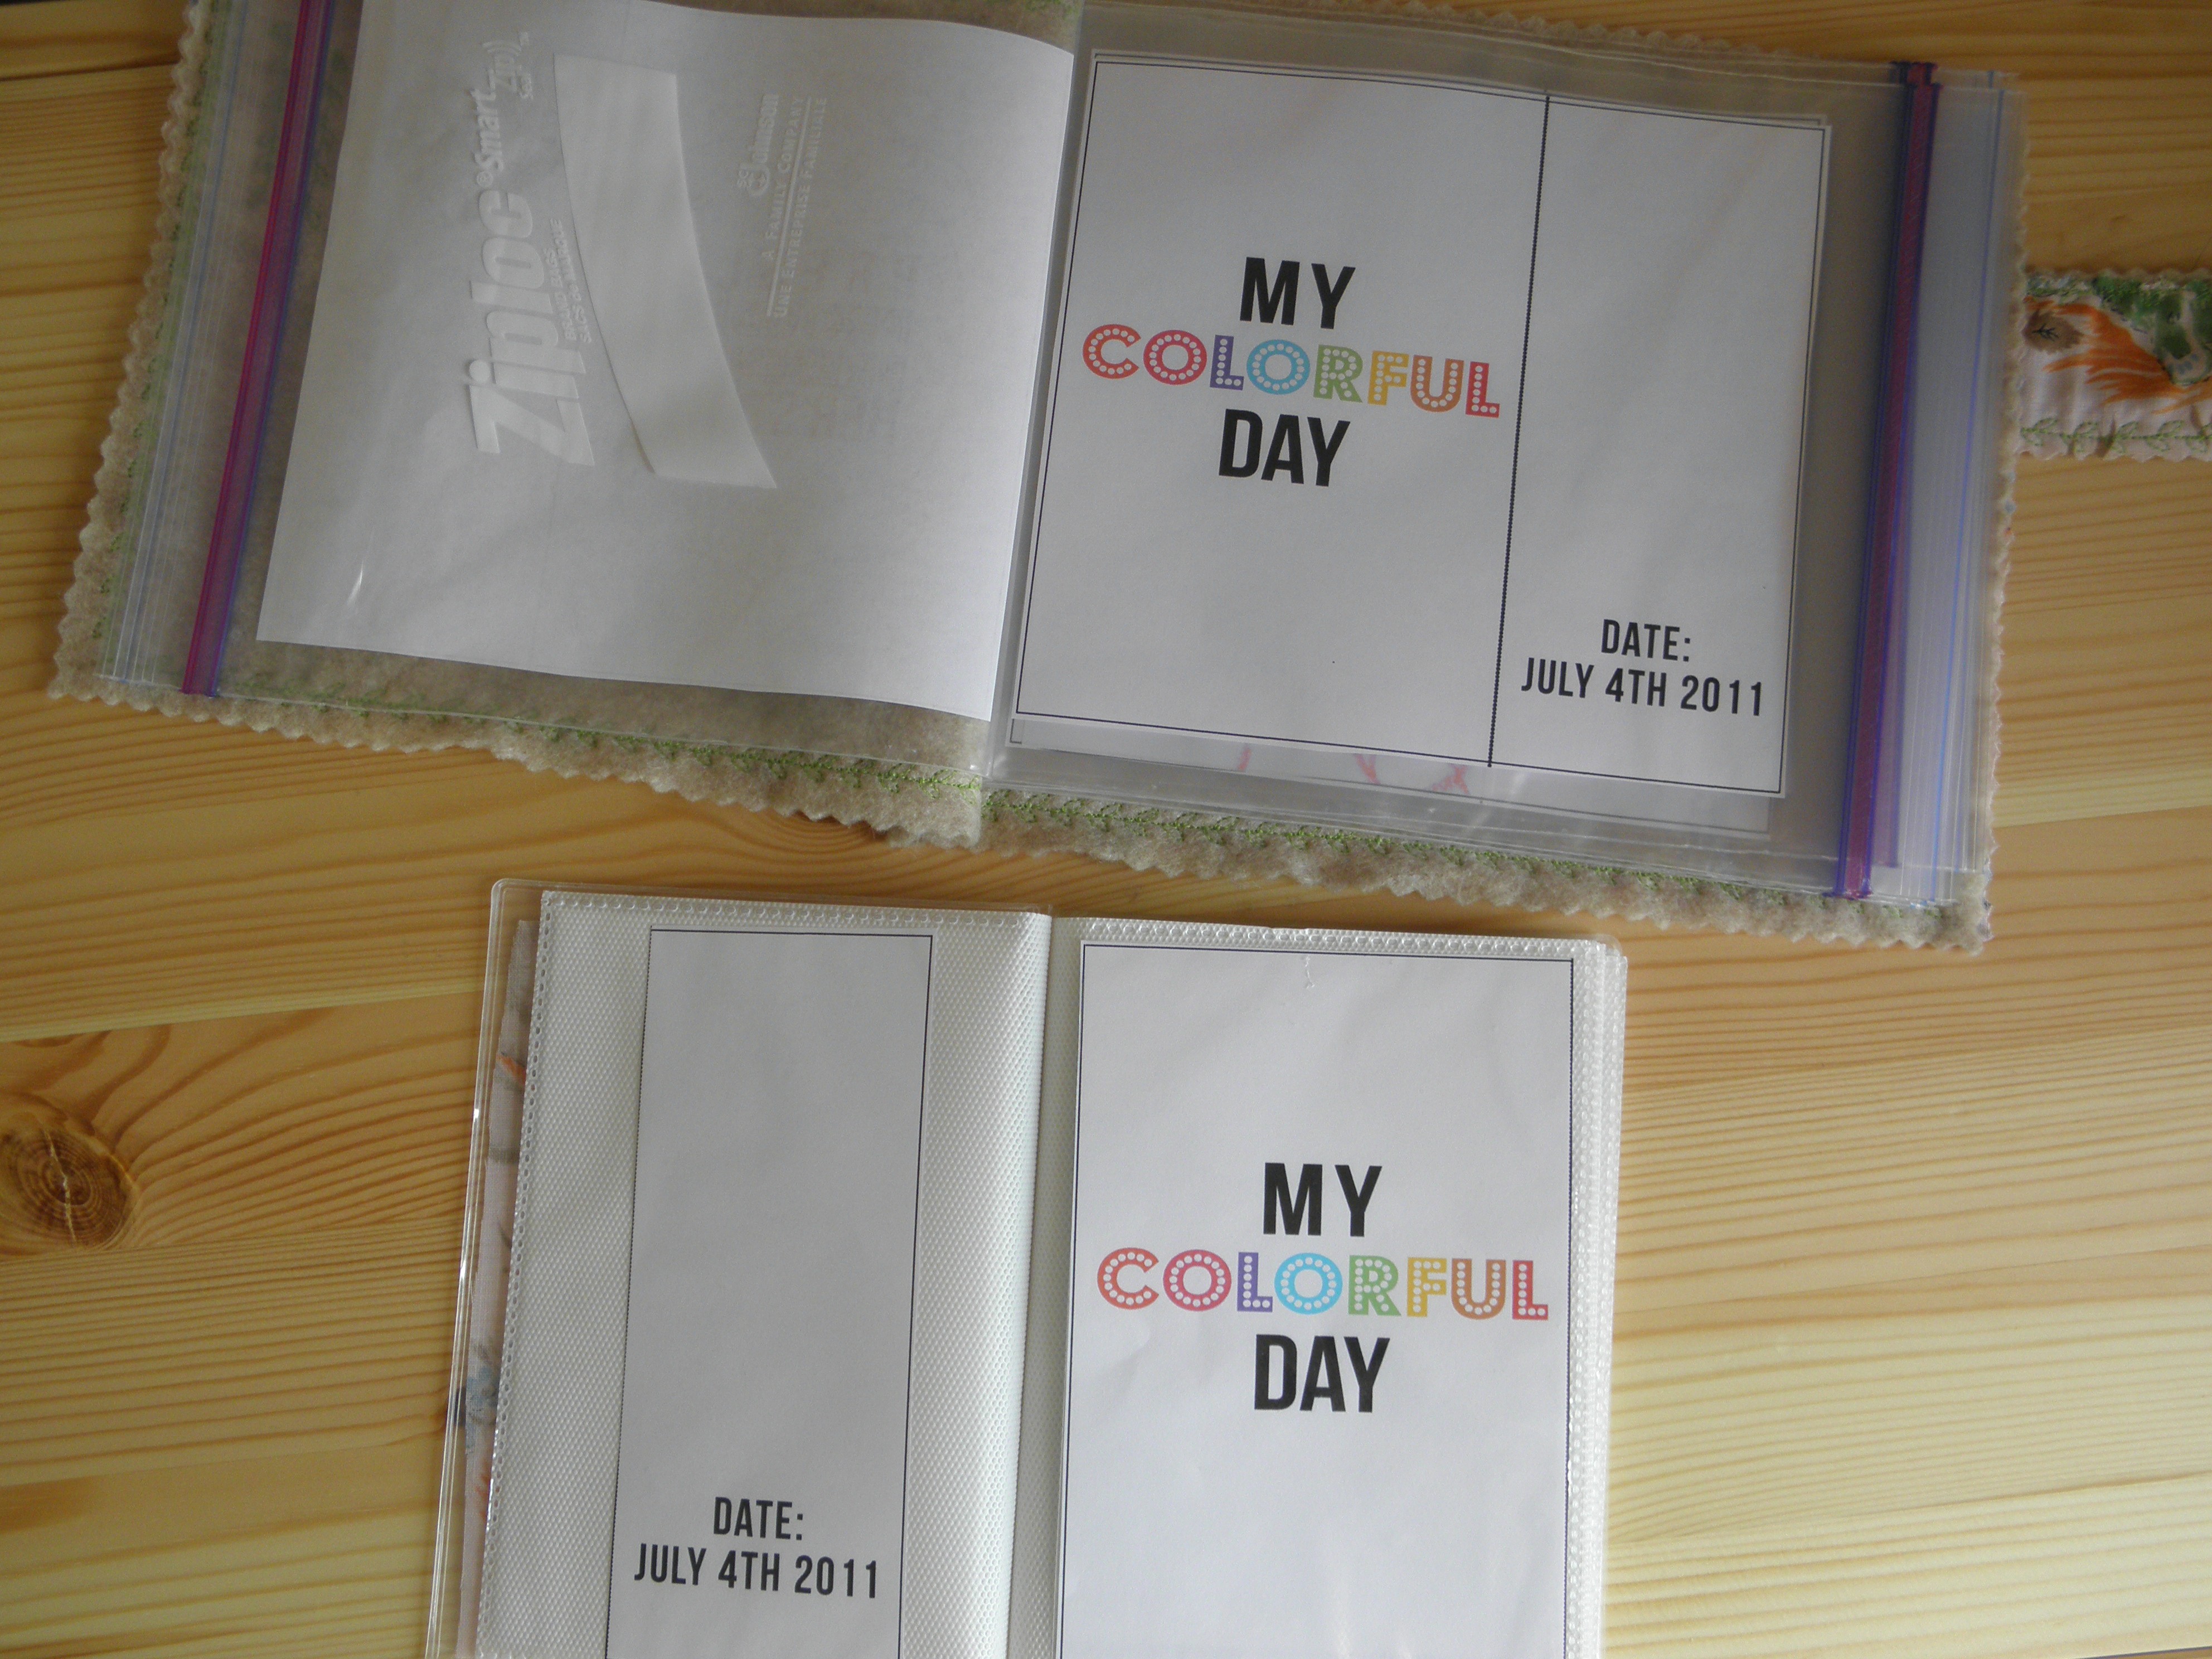
The idea is that you make the larger book with this handy dandy tutorial to follow and then write a story using the provided printables with the kiddos. Your child can read this over and over until a new story needs to be written-then all you have to do is buy one of those dollar 4X6 books from Wal-mart {the smaller book pictured} and the printable pages transfer over lickety split {you just cut them on the dotted line}. This way you can create an growing anthology, authored by your child, every time a new story is written.
Ideas for writing with kids:
Infants and young toddlers- I have a 15 month old and for her book I just take the pictures from our summer fun and add one word labels to the pictures using strips of paper. We also have an I Love Words book filled with pictures of her favorite toys and items from around the house, and we also have an I Love Church book with pictures of scripture stories and church leaders. The fun thing about making more of these books {ones that don't change} is that as McGilly gets older she can begin telling me what to write on the strips of paper or writing in words on her own.
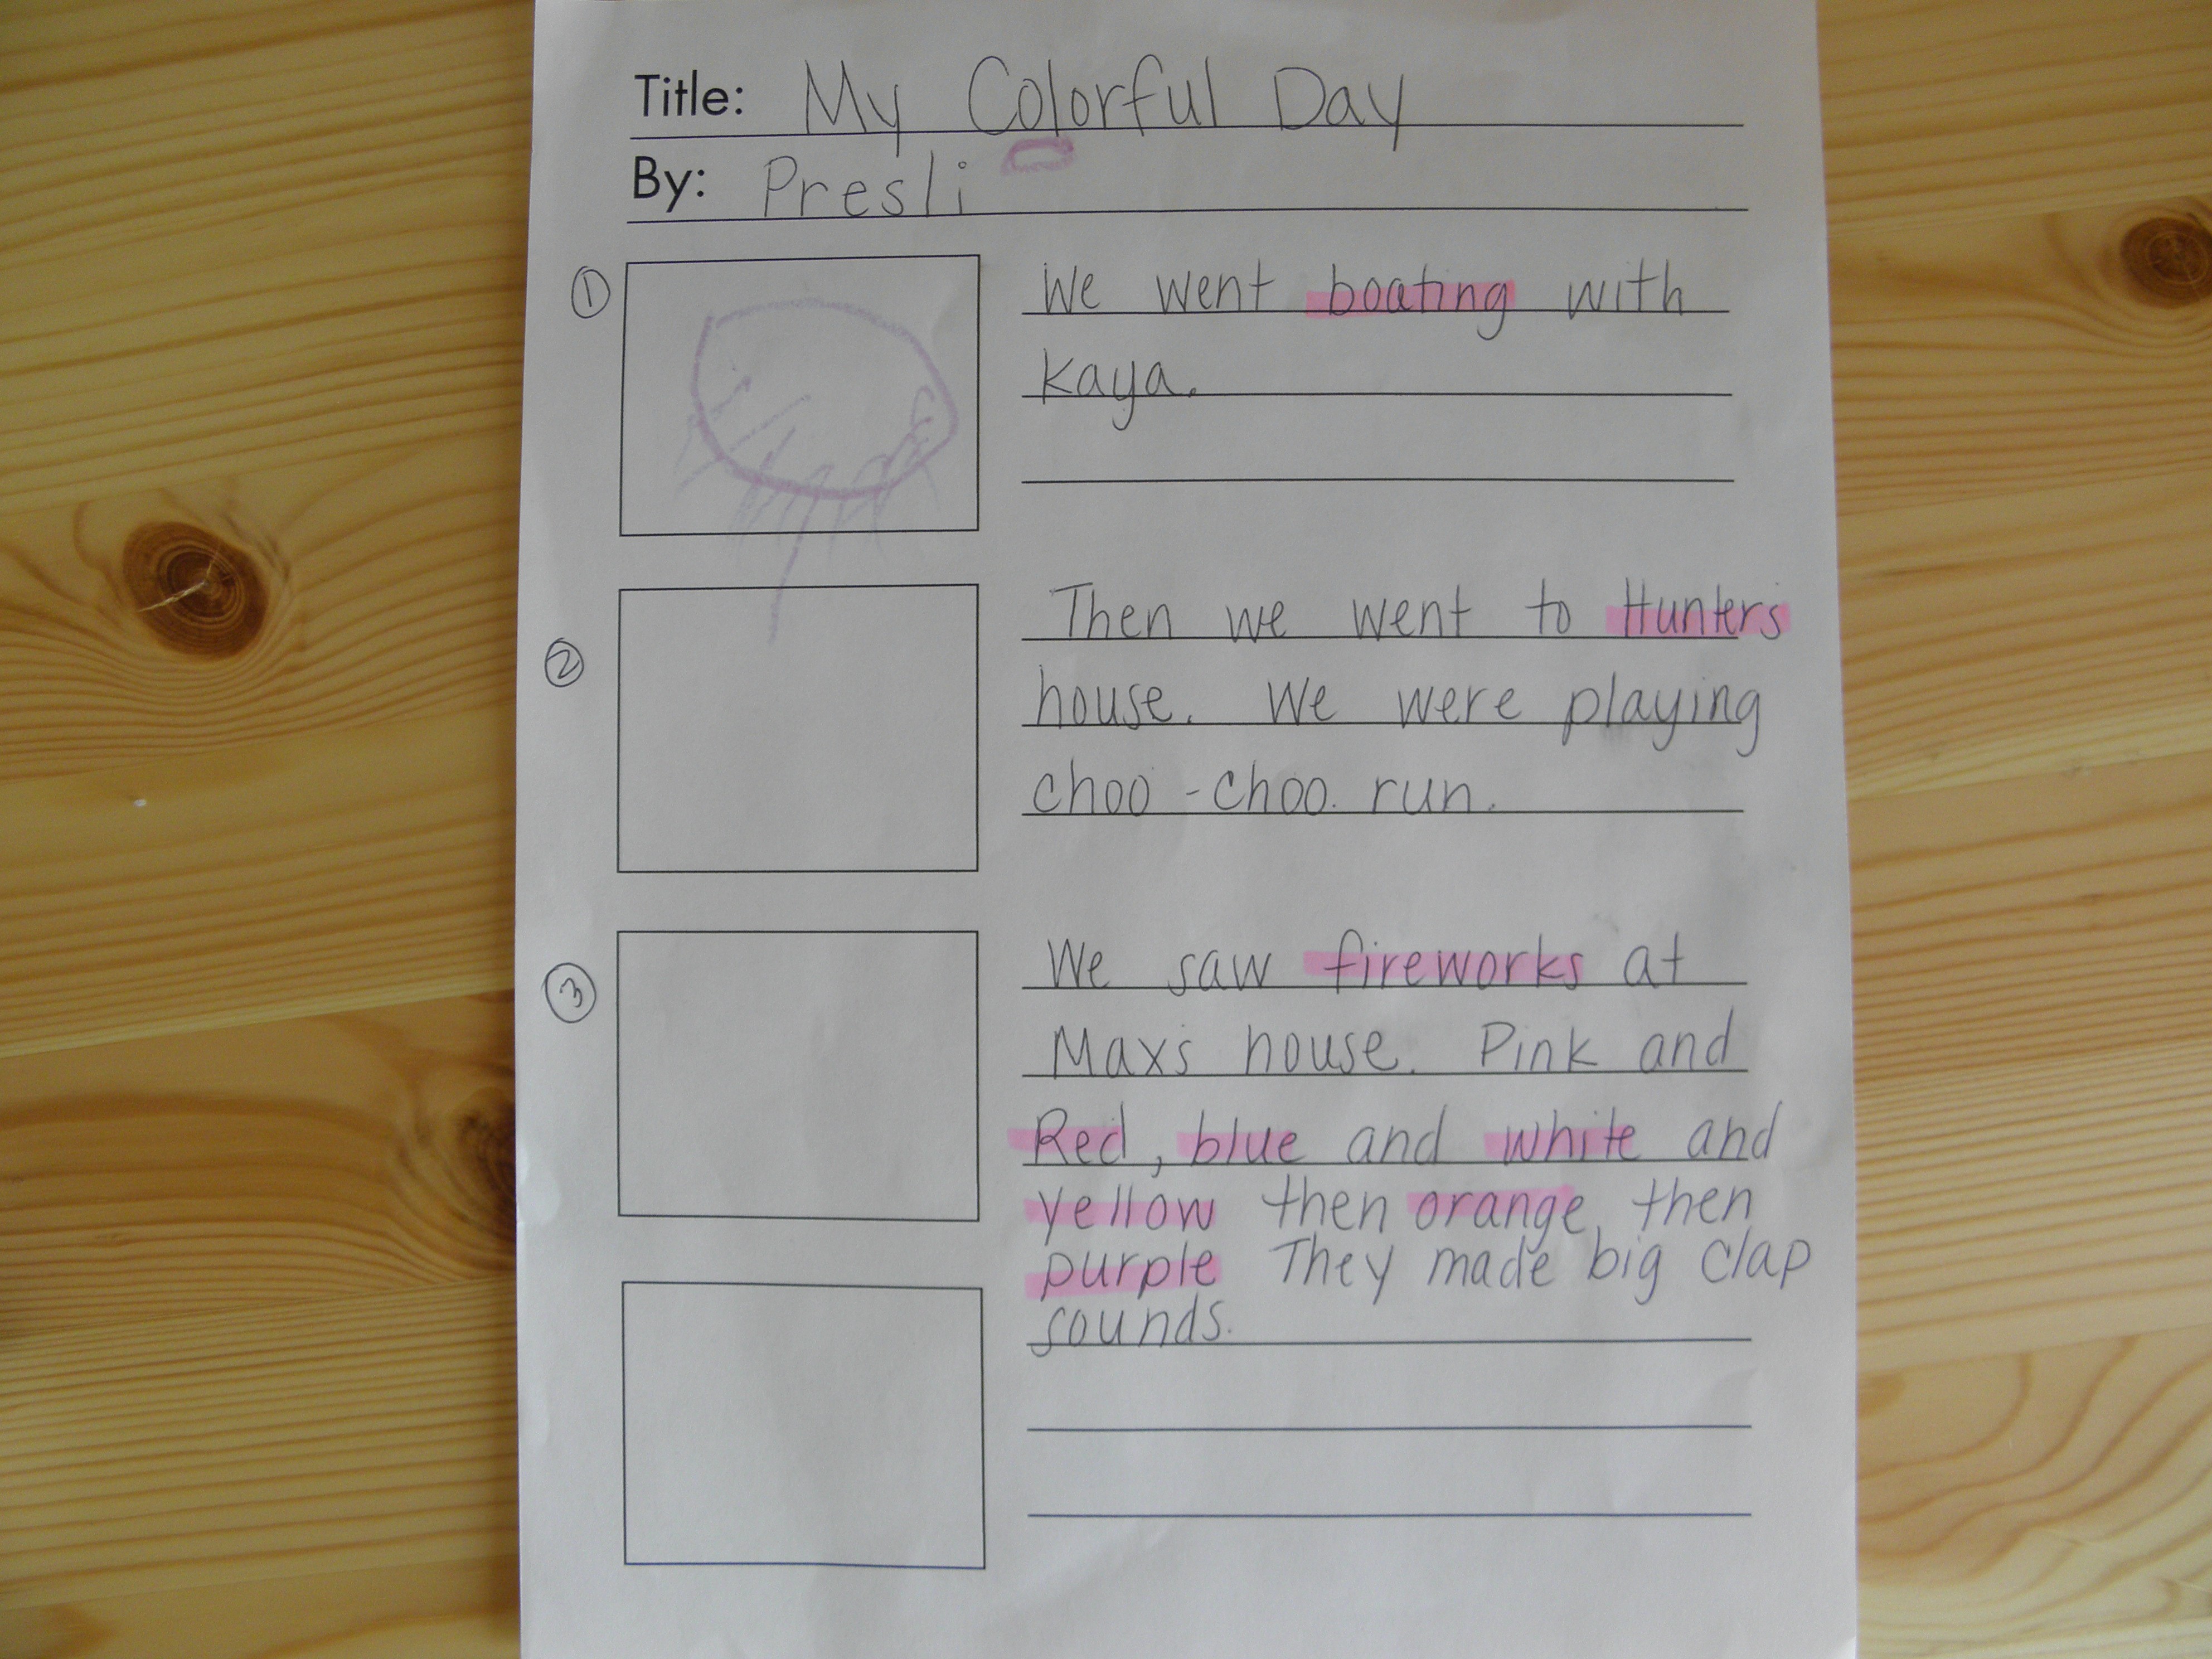
Young children- I went and spent an afternoon with my cousin Presli, she is 3 years old. First we talked about the Fourth of July and what she did. I asked her if she wanted to write a story about her day and that we would make it into her very own book that she had written. Needless to say she was excited. I showed her the brainstorm page and told her I was going to write down the story she wanted to tell me about her fourth of July.
 |
| Here is the brainstorm page after we finished it. |
She instantly said a boat, so I highlighted the word and she began drawing.


As she finished one drawing, we discussed the next page and she began drawing as I wrote in the words on the previous page. All you have left after this is to place them in the book and read! I made a big deal about how she was an artist and a writer now and she was so proud of that. As soon as we were finished she was telling all of us visiting a new story about butterflies so I know she is going to get good use out of her book!
Older children- I have included in the printables, illustrating pages with the lines closer together for more in-depth stories that older children write. On the brainstorm sheet older children might like sketching their ideas for their illustrations in the provided boxes to get it out on paper. I used this in my kindergarten class to pre-write and plan their year-end book that we would publish.
To learn a little more about kid writing check out these links- Sequence of Writing and KidWriting, which is one of my favorite book about early development of writing {this link is to a video of one of the authors teaching writing to a group of kids}.
Here are the printables:
Brainstorm Page
Cover Page
Presents Page
Illustrating Page+ Younger
Illustrating page+Older
The End Page
And now, How to make the Baggie Book:

Here are the supplies:
- a felt or fleece and a cotton scrap at least 19 X 8.5 inches
- masking tape
- pinking rotary cutter or scissors
- cutting board and cutting guide
- 7 baggies (I like the heavy duty freezer quart size)
- small piece of velcro
- sewing machine

First, lay two baggies together in book orientation with the clear side of the baggy facing up {this way you won't see the brand name on the front of the page}. I use these because they are sturdy and last a long time, I haven't been able to find heavy duty generic brand without the logo-let me know if you do.
Add a small piece of masking tape around the two at the bind.

Next, keep going and add one baggie each time by taping it to the rest like above. Set aside for later.

Now, lay your cotton piece of fabric on top of your felt or fleece and cut a 19 X 8.5 sized piece, this is the cover, also cut a 1.5 X 6 inch piece for the closure. I use pinking shears so that can leave the edge exposed and it won't fray {makes these easy-peasy to whip out}.

Now, sew a stitch {I used a decorative one} around the edge of both pieces and sew on one side of the velcro to the closure.

Next, I sewed the opposite end of the closure to the back of my cover and sewed the matching piece of velcro to the front where the closure hit.

Last take your baggies and place them in the book and sew about a half inch in all the way down the spine. The only trick is just to make sure the baggies don't slip around as you are sewing and VOILA! You have a beautiful baggie book. I added a freezer paper stencil of a gold heart to the front to jazz it up so have fun with it.
The Best Part:

The best part is hearing summer stories from their point of view and once your child is tired of the story, move it over to the anthology book and write a new one. This is not only fun, but supports your Childs literacy skills and self-esteem. How cool is that!
Have a great day, and thanks Dianna for letting me come over and visit!
AshLee


Thanks for this fun idea. I am going to do this with my daughter.
ReplyDeleteMy kids are going to love this. Thanks!
ReplyDeleteI just shared the completed book with my sweet little cousin and she had me read it over and over until--Ta Da she could read it to me. She loves that little book!
ReplyDeleteThanks again Dianna for having me over!